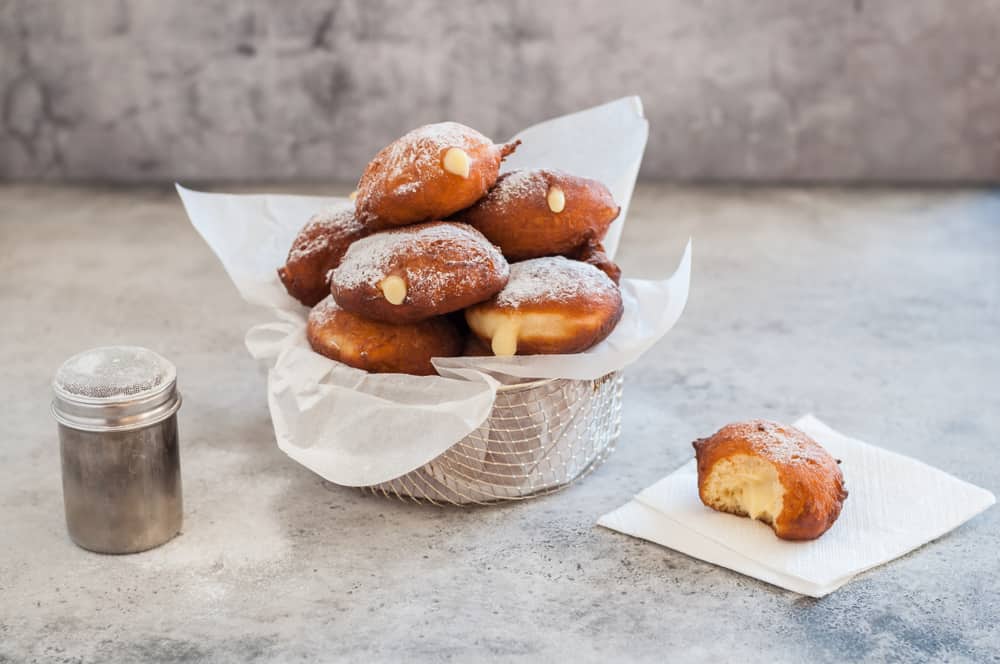
Are you looking for a tasty treat that’s easy to bake at home? Fancy something zesty that uses everyday ingredients? Well, you can’t go wrong with homemade lemon filled donuts!
Donuts have long been a family favorite worldwide – but few people realize they’re one of the simplest treats to bake at home. Paired with lemon curd, they exude a refreshing, tangy, sweet flavor that’s perfect for long hot summers and Sunday desserts.
Our easy-to-follow donut recipe shows everything you need to do to make these tasty treats. Any extra lemon curd left over can also complement a range of other desserts.
The only thing you’ll struggle with is keeping hungry hands away from these delicious desserts.
The history of lemon filled donuts
Lemons are one of the most widely used ingredients in all baking and have appeared as early as Ancient Rome as a symbol of health and wealth.
They inspire thousands of baking recipes because of their signature flavor and high nutritional value.
It’s no surprise that as one of the world’s most popular treats, donuts often come with lemon glazes and shavings or are packed full of filling.
But to understand how the lemon filled donut came to be, let’s take a brief look at the birth of donuts.
Elizabeth Gregory, English lemon curd, and the creation of donut fillings
Donuts are often credited as coming from America’s Dutch settlers in the 1620s. Their ‘oliekoecken’ pastries were essentially fried cakes and proved a massive hit.
But it wasn’t until 1847 that the modern donuts we know today came to be. Hanson Gregory was a New England ship’s captain who wanted to reduce the greasiness of the donut and experimented with the signature ring shape we know today.
His mother, Elizabeth Gregory, began filling the pastries with an assortment of her son’s spices and fillings, including the popular lemon rind. Lemon rinds improved the donut’s taste and texture and ensured the pastry was cooked thoroughly.
At the same time in England, the recipe for lemon curd was developing; bakers added lemon to cream to acidify it and then separated them again with cheesecloth.
Over time, this simple recipe changed into the custard-like sauce we know today. Bakers began to add milk, eggs, butter, and other thickening agents, as well as several spices, extracts, and flavorings.
Separately, both recipes are delicious. But magic only happens when a light, fluffy yeast donut is combined with the citrus taste of lemon, as you’ll soon discover from the recipe below.
Ingredients
Lemon-filled donuts are easy to make, and most of what you’ll need will already be in your kitchen.
Below, our instructions will tell you everything you need to do. Unless otherwise mentioned, ingredients should be at room temperature.
For the Dough:
- One packet of active dry yeast
- 3 ½ cups of all-purpose flour
- 1 egg
- 2 egg yolks
- 1 cup of whole milk
- 1/3 cup of butter
- 3 tablespoons of warm water (105°F-115°F)
- 1/3 of granulated sugar
- ¼ teaspoon of vanilla extract
- ¼ teaspoon of cinnamon
- Vegetable oil
Lemon Curd:
- 1/2 cup of freshly squeezed lemon juice
- 1 tablespoon of lemon zest
- ¾ cup of sugar
- 5 tablespoons of unsalted butter
- 3 large eggs
Some equipment you’ll need will include:
- Mixing bowl, electric mixer with a dough hook
- Rolling pin
- Knife, pizza cutter, or donut cutter
- Candy thermometer
- Piping bag with a wide nozzle
- Plastic wrapping
- Parchment paper
- Cooling rack
- Paper towels
Step by step on how to make lemon-filled donuts
Because it may take some time to cool, we recommend making the lemon filling first.
Make the lemon curd:
- Firstly, separate the yolks from the whites of your three eggs into a small bowl. Discard the whites. Pour in the sugar and whisk until mixed well.
- Pour your mixture into a medium saucepan and place over medium heat. Slowly stir in lemon zest, lemon juice, and some salt.
- Lower heat and continue to stir until the curd thickens. If 10 or 15 minutes have passed and curd hasn’t gathered, turn up the heat slightly and continue to whisk.
- Once happy with the texture, take the curd off the heat. Cut butter into small cubes or thin rectangles, and stir in slowly until the butter has melted successfully.
- Pour into a container and seal the lid. You can also wrap plastic tightly around to preserve it. Allow it to cool in your fridge.
Make the doughnuts:
- Stir your active yeast with milk until it dissolves, which can take up to 1 minute. You’ll know your yeast is ready when the foam and bubbles start to form.
- Slowly add in your egg, egg yolks, and butter. Whisk slowly until all ingredients have mixed well. Add sugar and flour, and if you want, flavor with cinnamon.
- Keep whisking for a short period until your mixture begins to take form. Don’t worry if it’s sticky – this is normal. But if it’s too sticky for your liking, you can add small amounts of flour to neutralize it.
- Place your dough onto a floured surface and begin to roll with a rolling pin. Use a donut or pizza cutter to cut out exact shapes carefully. About 3 inches works best for donuts.
- Wrap your donuts individually with plastic wrap. The plastic won’t stick to the dough. Allow them to sit for around 1 hour. Donuts should double in size and be very delicate to touch.
Frying:
- Heat the oil in your fryer, Dutch oven, or heavy pot to 350 F.
- While the oil hats, prepare a cooling area for your donuts once they’re cooked. Lay out paper towels under a cooling rack.
- Gently place two or three donuts into your fryer or pot for 1 minute. Then turn them over to the other side. If donuts are too ‘oily looking,’ gradually increase the temperature.
- Take donuts out once they are golden brown. Use a candy thermometer to ensure the temperature is consistent for each small batch. Remember to give the frying oil time to regain its maximum temperature between batches.
- Place fried donuts on paper towels to allow excess oil to drain off.
How to fill your donuts:
- Allow donuts to cool on a cooling rack. Don’t fill them just yet – if they’re too hot, the lemon curd will simply melt.
- Your lemon curd should have cooled by this stage. Gently run a spoon through it to loosen the mixture up and get it ready.
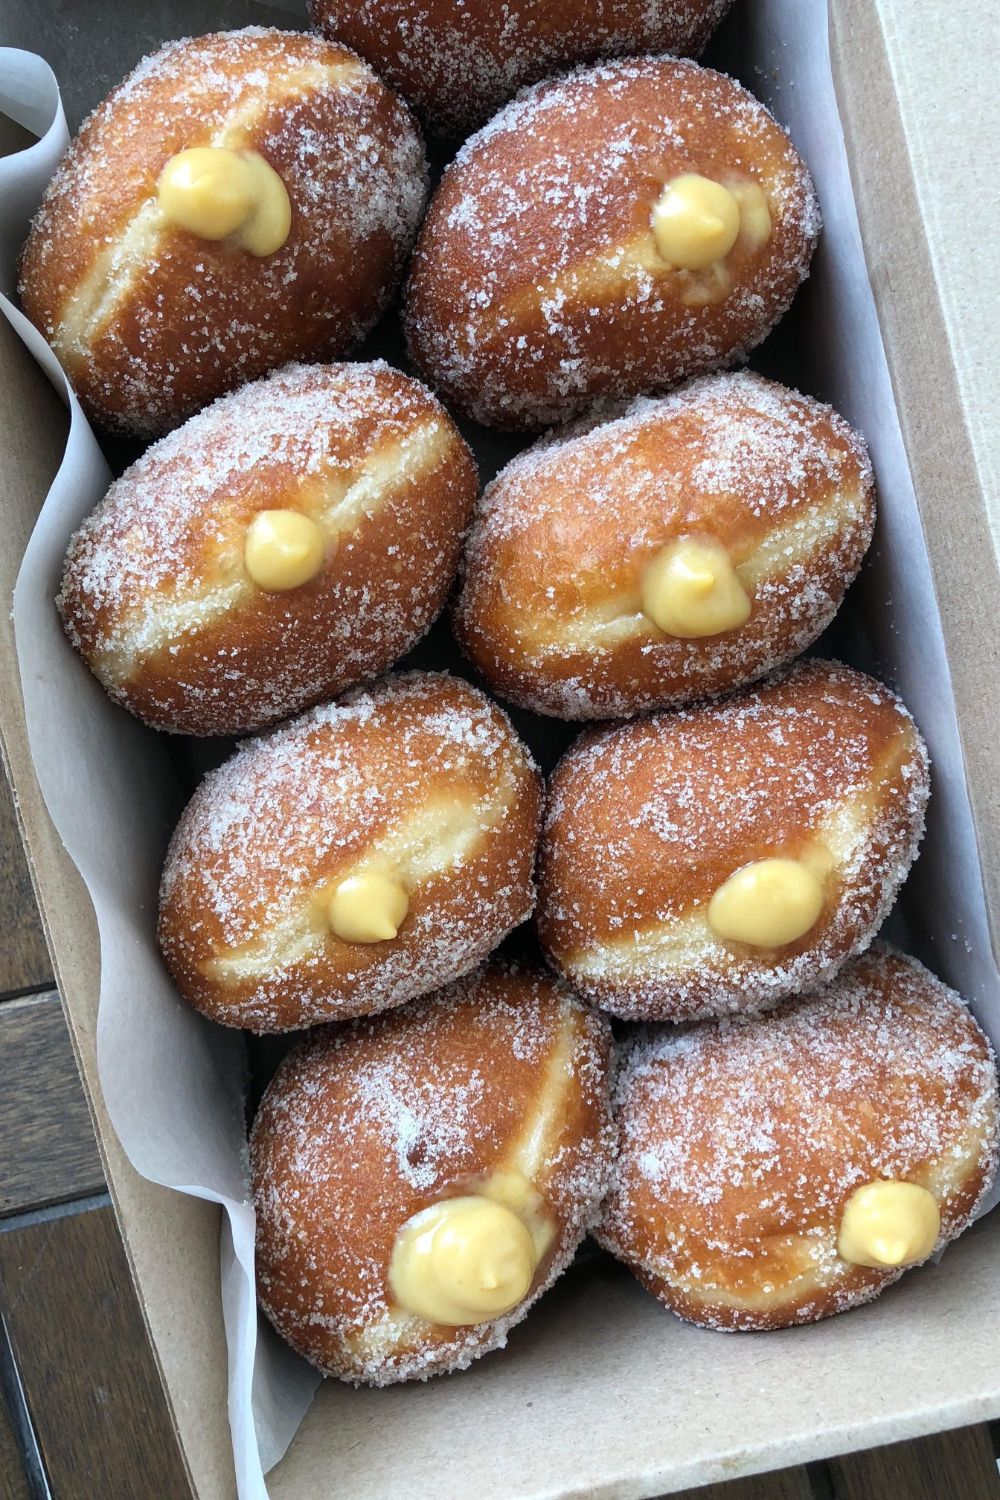
- Once the donuts are cool to touch, collect the lemon curd in a piping bag with a wide nozzle. Use a fork or chopstick to carve a small hole into the donuts. Many bakers often place the hole on the top part of the donut, as it’s easier to fill and run-off filling won’t spill.
- Remember to hollow out some space inside for the curd to gather. Insert the piping bag in and gently fill each donut.
- Finally, you can coat donuts in granulated sugar. Any extra curd can be put into a dipping bowl. Serve and enjoy!
Conclusion
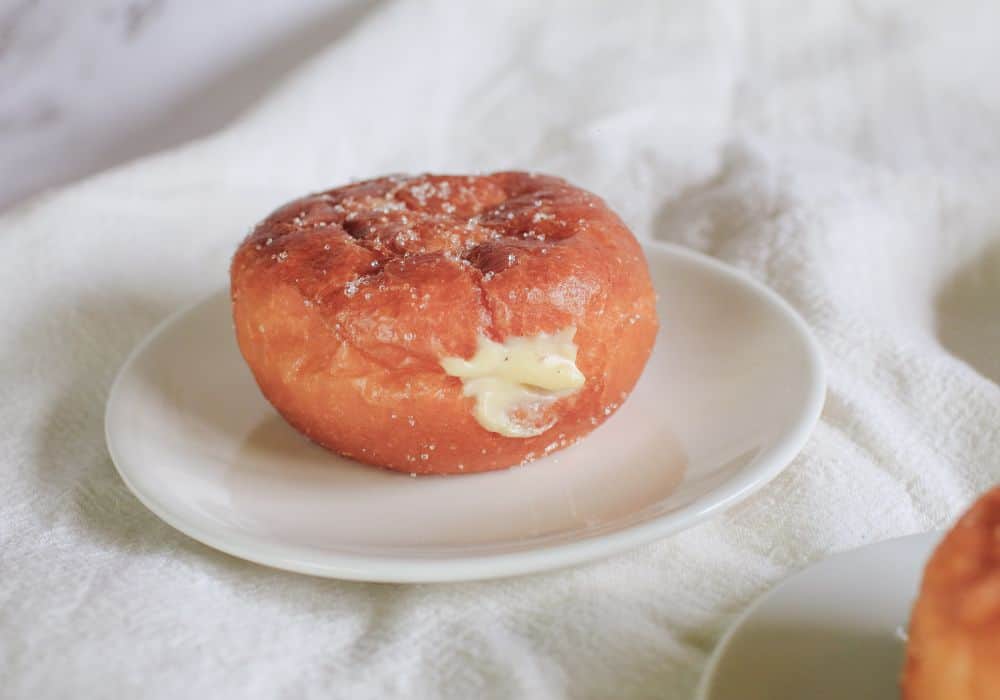
Lemon-filled donuts are a classic. They’re a versatile bake; you can make a batch of these regardless of your skill level.
Each bite contains tangy flavors and refreshing tastes, whether the lemon curd or the donut. Too much curd is never bad; the sauce can be used in several other recipes and enjoyed as a dipping sauce for your donuts, too!
Our recipe shows, step by step, that all it takes is a couple of hours and some patience. Now, you have to ensure you’re making enough for all your friends and family, as we guarantee they’ll become quite a popular treat!
FAQ
How many calories are in a lemon-filled donut?
There are, on average, 240 calories in a lemon curd donut. Other nutrients include 35g of carbs, 2g of protein, and 1g of Fiber.
How long can lemon filled donuts last?
Donuts can stay relatively fresh for one or two days on your kitchen counter and up to a week when in the fridge.
But with any fillings, especially dairy, you’ll want to refrigerate them as soon as possible to preserve them. Generally, lemon-filled donuts usually stay fresh for 3 to 5 days.
Are lemon filled donuts vegan?
While many bakers substitute butter, milk, and eggs for vegan alternatives, what about lemons?
There’s a lot of debate around if lemons are vegan-friendly. That’s because many waxed lemons contain shellac, which comes from insects and is thus not vegan friendly. If in doubt, check your supplier for what kind of treatments the lemon has gone through.
