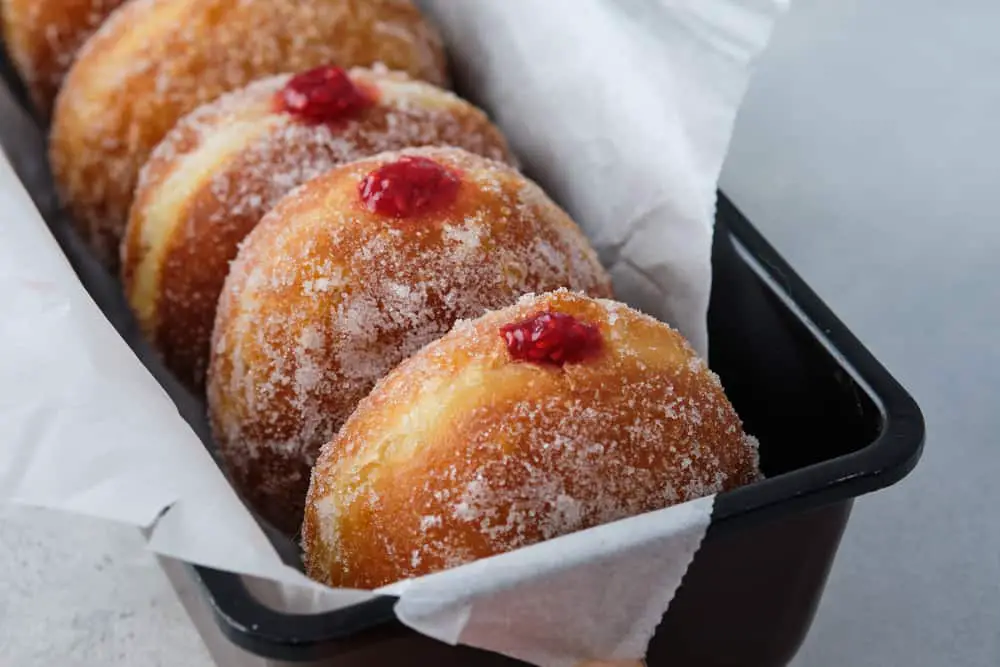
No matter where you go you will find a jelly donut. I’m not joking. For instance, you won’t find a lot of Boston Cream donuts in Europe, since they aren’t so popular here as in the USA. However, you will for sure find a jelly-filled donut across the globe, in bakeries, donut stores, and supermarkets. That is how popular they are.
Moreover, in most countries, they are a traditional holiday dessert, especially in those who practice fasting before holidays due to their religion. So let’s learn more about their history and how to make them at home.
Why Are Jelly Donuts Traditional For Hanukkah?
Jelly donuts are also called Hanukkah Sufganiyot (don’t bother I don’t know how to pronounce it either). They originate from Israel. The legend says that oily foods symbolize the miracle of the burning oil lamps in the ancient Holy Temple in Jerusalem.
It is a tradition in Israel to serve them during Hanukkah, and the first recipe for jelly donuts was found in 1485. in a cookbook printed in Nuremberg, Germany. Sufganiyot became specifically tied to the celebration of Hanukkah in Israel, in the 1920s.
At that time the Israeli Labor Federation declared them as one of the official food of Hanukkah. But why did I mention labor federation and what they have to do with jelly donuts? Well, until the early 1920s Jewish people ate latkes for Hanukah.
But since they were way too easy to make at home, the labor federation decided to provide more job openings by declaring jelly donuts as their staple Hanukkah food. If you think about it more, this was a logical decision. Since a lot of people were hired to do all the making, baking, transporting, and selling donuts.
How To Make Tasty Jelly Donuts
Let’s get one thing straight, jelly donuts are tasty and delicious all throughout the year, not only when the Holiday vibe hit us all.
Well, okay maybe during summer we all lack the motivation to bake or fry anything, due to the fact that temperatures are too high. Luckily jelly donuts can be bought anywhere. However, if you are bold enough to try and fry your first batch of jelly donuts this summer I’m happy to share the recipe and process with you.
Ingredients you will need
Making homemade donuts isn’t that hard, all it takes is the following ingredients, patience, and a good amount of time to let your dough rise. In case you know you won’t be able to make so much time for donuts in one day, you can prepare the dough today, and leave it overnight in the fridge.
This is what you will need:
- 2 packages of active dry yeast
- 1/2 cup of warm water from 110°F to 115°F (in case you want you can switch water with 2% fat milk at the same temperature)
- 1/3 cup of unsalted butter that is softened at room temperature
- 1/3 cup of granulated sugar (this is for dough only, you’ll need more later for coating)
- 2 large eggs at room temperature
- 2 teaspoons of salt
- 2 ½ cups of all-purpose flour (you’ll need a bit more later for the dusting and rolling)
- 3 cups of vegetable oil (plus more for the bowl)
- 1 ½ cup of jelly or jam of your choice
- ½ teaspoon of grated nutmeg optional
Step-by-step guide on how to make jelly donuts
The most complicated process is making the dough since you’ll need to wait until the yeast is proven. If the yeast doesn’t react as it should your dough won’t rise and your donuts would be flat instead of fluffy and tall.
- First proof the yeast in a large mixing bowl. You will do this by adding warm water, yeast, and 1 teaspoon of sugar to the bowl. You can either mix it by hand or with a hand mixer and let it rest aside until it becomes foamy, and gets that strong yeast smell. It will take approximately 5 minutes.
- Mix the dry ingredients in a separate large bowl. Those are flour, sugar, and salt, and set aside.
- Now take the bowl with the yeast and add milk, butter, and oil. Mix it on medium speed until the texture is smooth.
- After this, you’ll add the eggs and mix it on low speed for a minute or two, until it’s all well combined.
- Add the dry ingredients mixture gradually, 1 ½ cups at a time, and mix it on low speed. After you added the dry mixture two times, the dough will become sticky so switch the paddle for the dough hook that will allow you to knead the dough (if you don’t like to do it manually).
- Knead the dough on low and then on a medium speed until it becomes very smooth, soft, and elastic. That will take around 7 minutes. The dough will wrap around the hook and stick to the bottom.
- Transfer your dough to a clean, large bowl and cover it with plastic wrap, then a kitchen towel. This way you’ll allow it to rise and rest, for about 2 ½ hours. After this time it should come to double its size.
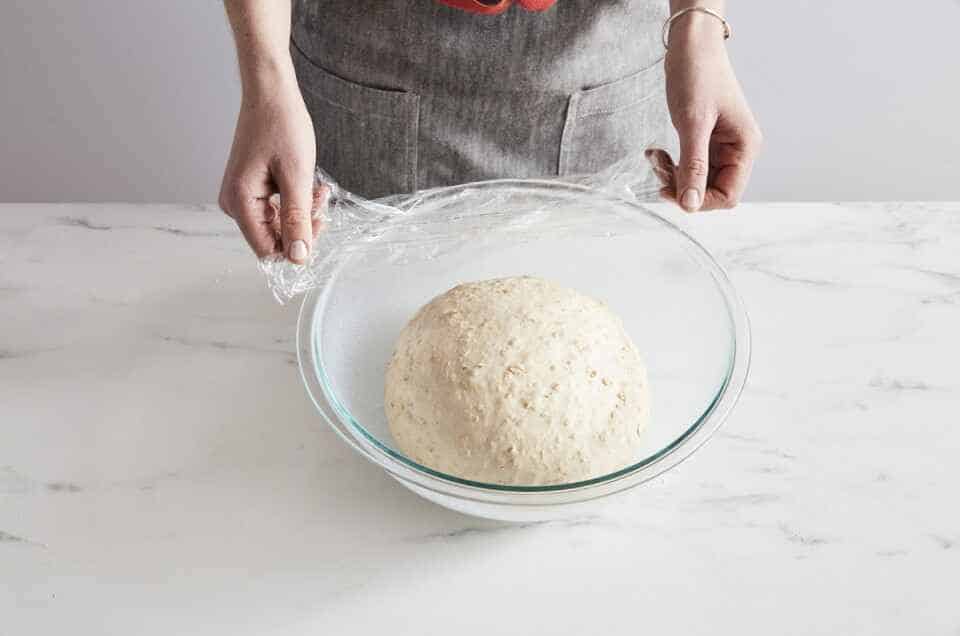
Image Credit: kingarthurbaking - Now you’ll need to roll out the dough. Dust your working surface and a rolling pin with flour so the dough won’t stick to it.
- Roll and cut the dough into 2 portions. Wrap one in plastic wrap and let it cool off in the fridge. In the meantime roll out the other half about 3/4-inch thick. Use a cookie cutter or a glass to cut out 8 circles. Place the remaining dough in plastic wrap and into the fridge.
- Rise those 8 circles under the kitchen towel for about 15 minutes until they expand.
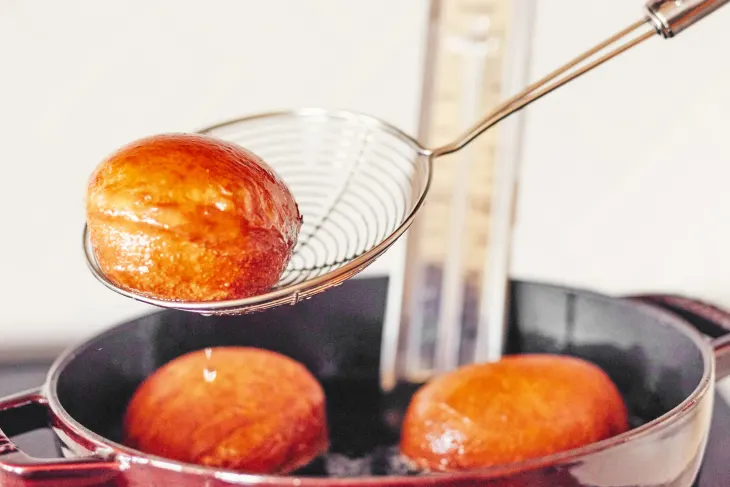
- While you wait for your donuts to rise, preheat the oil to 360°F. Use approximately 8 cups of oil in a large pot. The oil must be at least 2 1/2 inches deep
- Fry the doughnuts until they become golden-brown on one side. After 2 minutes turn it and fry the second side for 2 minutes more. Place them on a cooling rack and let them cool for 30 minutes.
ImageCredit: thekitchn - Repeat rolling, cutting, and rising the dough until you bake all the donuts.
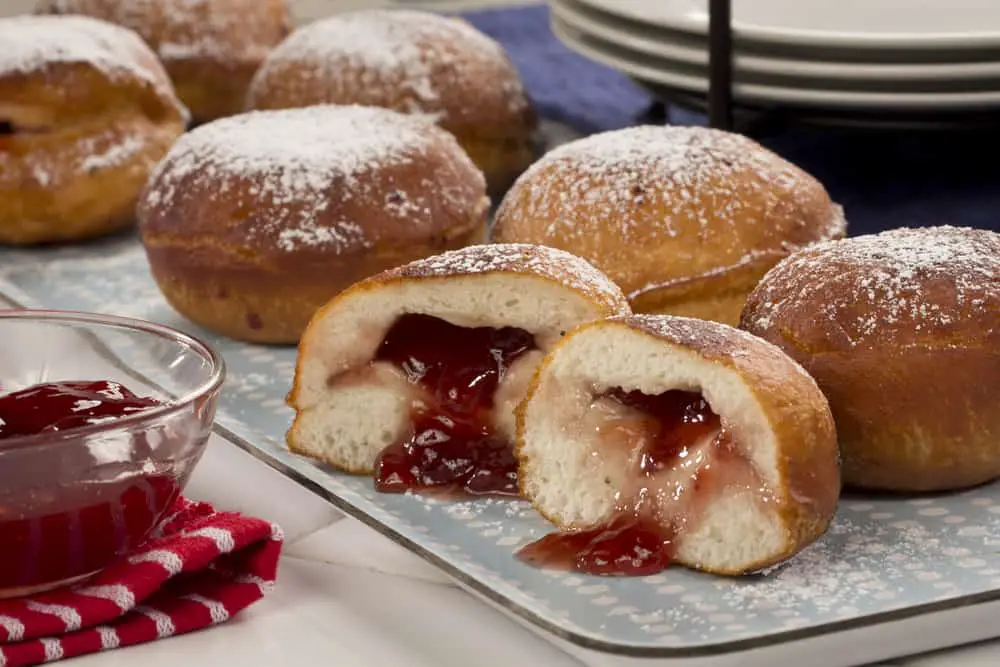
- Make sure you leave all the donuts to cool and dry off before you start filling them with jelly or jam.
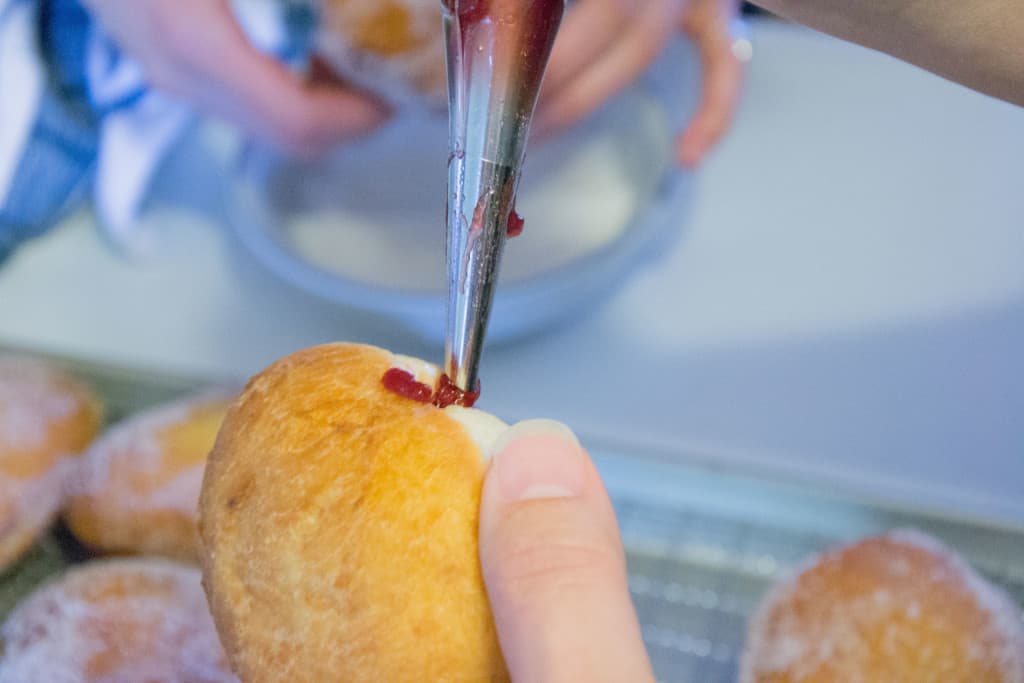
Image Credit: chateauelma - Transfer the jelly into a pastry bag with a sharp tip or a squeeze bottle with a firm tip. Insert the tip into the side of your cooled-off donut and squeeze the filling 2 or 3 times, until you see a small dab of jelly going out of the entry hole.
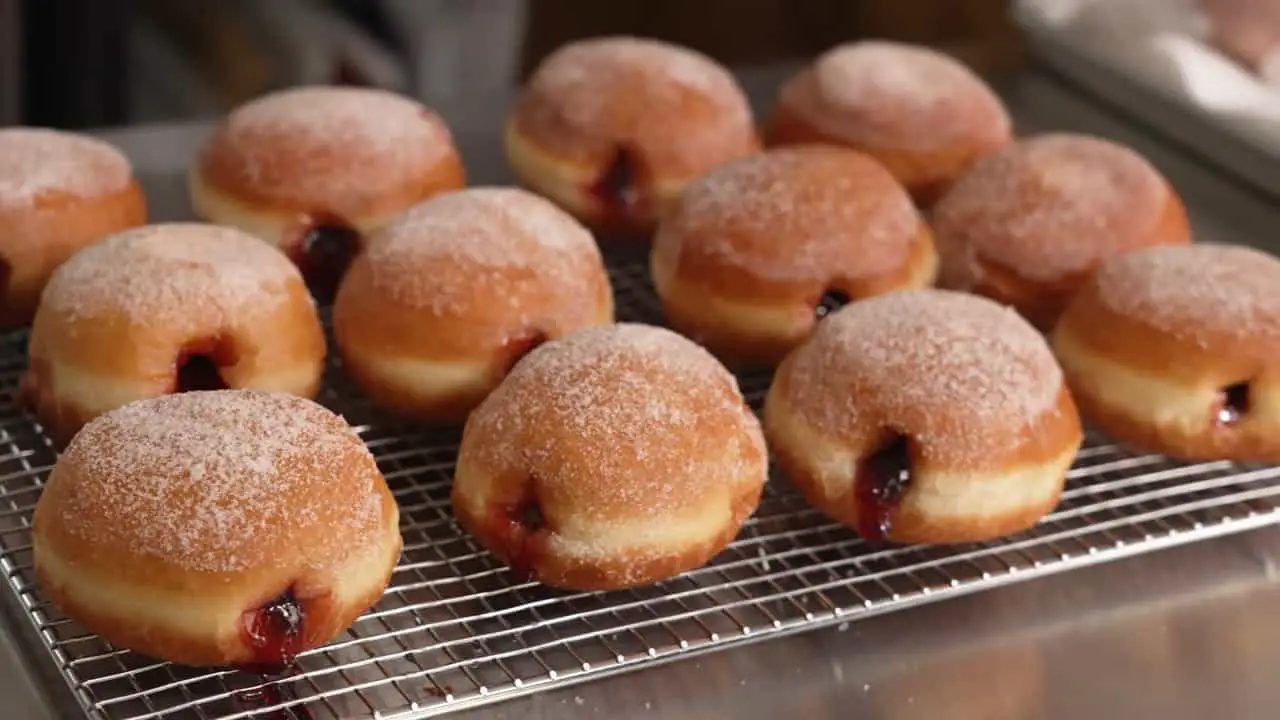
- Once you fill up all the donuts, coat them in granulated or powder sugar and serve.
FAQ
How do I store leftover jelly donuts?
Donuts always taste the best after they are just made. However, since you can’t make only a few donuts, you’ll have leftovers. You can store them in an airtight container at room temperature on the counter for up to 2 days.
If you want you can place them in a Ziploc bag and store them in the freezer for up to 3 months.
Should I knead the dough by hand or with the mixer?
This mainly depends on how skilled you are. For example, a lot of people, knead the dough by hand and use the mixer only until they combine wet and dry ingredients into a semi-firm ball of dough.
In case you decide to knead the dough by hand, do it on the floured surface and not in the bowl.
Can I fill donuts any other way?
In case you don’t have a syringe, piping bag, or bottle with a firm tip that will allow you to inject the jelly inside a donut, you can try this method. When you cut out the dough circles thin them out with a rolling pin.
After that place a small amount of jelly or jam in the middle of a circle and cover with another thinned dough circle. Seal the edges and let them rise for 15 minutes before frying them. Make sure you seal the edges well so the filling won’t leak out.
Conclusion
These jelly donuts are made with high-quality and simple ingredients. If you want your donuts to taste like the ones you buy in a donut shop then you’ll need to invest money into the right ingredients. Always use quality butter and oil.
Especially oil for frying! It must be fresh every time! Donuts are like sponges they will soak up the oil which will affect the flavor. Also, here is a pro tip – use an oil that can withstand high temperatures, since the higher the temperature the less oil a donut will soak up.
Donuts are best enjoyed an hour or two after making, while they are still warm (not hot since the jelly will burn your mouth!). If you have some useful tips or tricks for making jelly donuts, please share it in the comment section.
